Help center
Welcome to the WpBusinessCard Help Center!
Explore our video tutorials to quickly and easily learn how to install, configure, create, customize, and manage your digital business card like a pro with your WordPress plugin.
Explore our video tutorials to quickly and easily learn how to install, configure, create, customize, and manage your digital business card like a pro with your WordPress plugin.
Install and configure the plugin
Install and activate the plugin
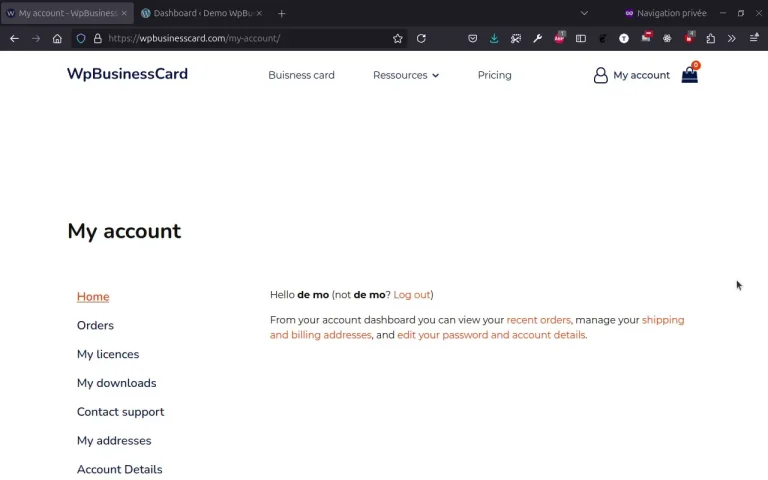
- Download the plugin: Log in to your My Account > My Downloads section on the WpBusinessCard website and download the plugin's ZIP file.
- Install the plugin: Go to your WordPress dashboard, navigate to Plugins > Add New > Upload Plugin, then upload the ZIP file. Click on Install Now.
- Activate the plugin: Once installed, click on Activate Plugin to start using WpBusinessCard.
Activate your licence
- Copy your license number: Log in to your My Account > My Licenses section on the WpBusinessCard website and copy your license key.
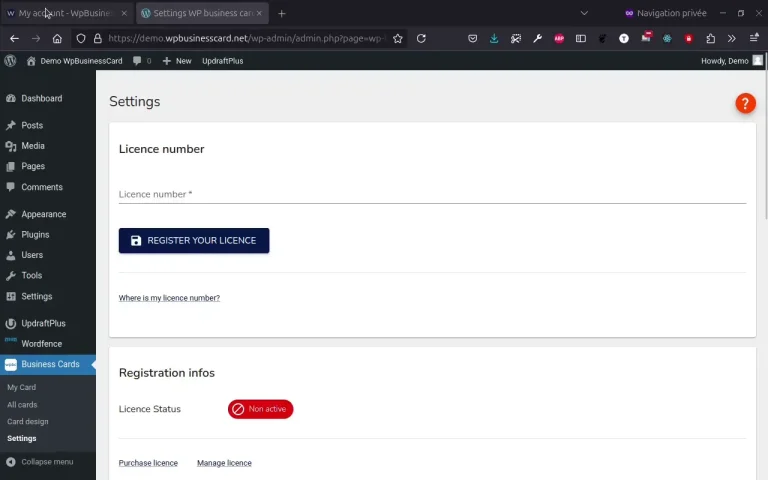
- Enter the license: In your WordPress dashboard, navigate to WpBusinessCard > Settings and paste your license key into the designated field.
- Activate the license: Click on Register your License to validate your key.
Design cards

How to Customize Your Card Design?
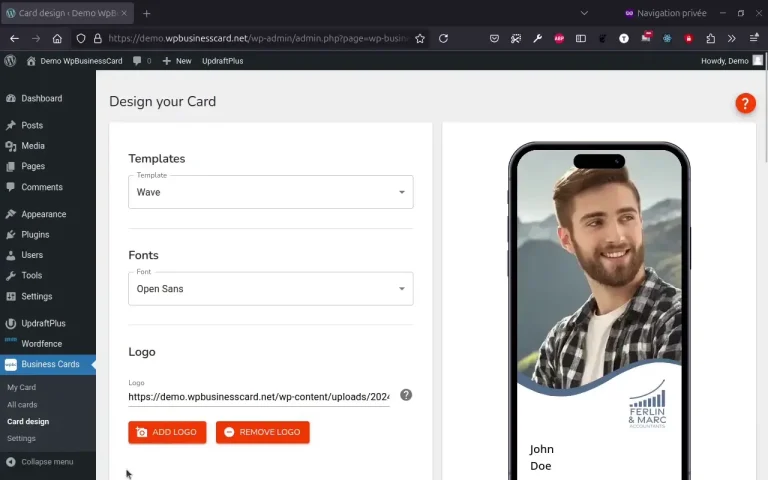
- Choose a template: Navigate to WpBusinessCard > Card Design in your WordPress dashboard. Select a design template that suits your needs.
- Select a font: Pick a font that matches your branding from the font selection panel.
- Add your logo: Upload your logo to be displayed prominently on your digital card.
- Choose colors: Customize the color scheme of your card to align with your brand identity.
Manage your card
How to Create a Digital Business Card?
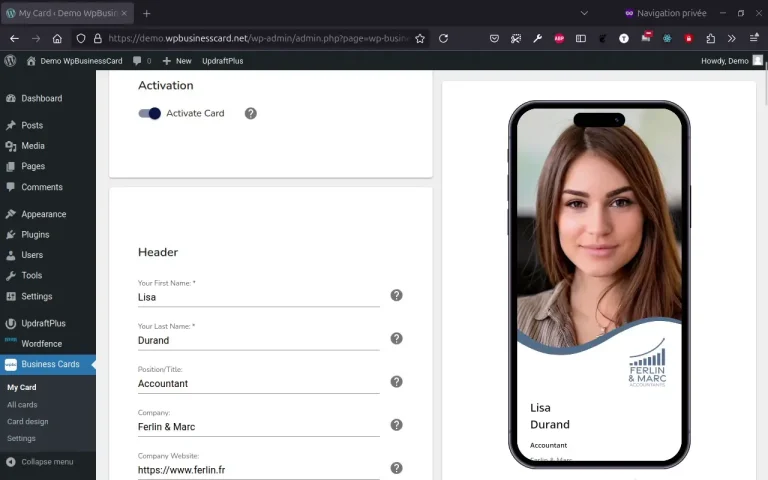
- Go to the card creation section: Navigate to WpBusinessCard > My Cards in your WordPress dashboard.
- Fill in your details: Enter your name, job title, contact information, and any other fields available.
- Add social media links: Include links to your social profiles for enhanced networking.
- Preview your card: Use the live preview to see how your digital card will look.
- Save your card: Click Save to finalize your digital business card.
How to Organize the Order of Blocks?
- Access the block settings: Navigate to WpBusinessCard > Card Design in your WordPress dashboard.
- Reorder blocks: Drag and drop the blocks (e.g., Header, Contact Info, Social Links) into your desired order using the drag-and-drop interface.
- Save changes: Once you are satisfied with the order, click Save to update the layout of your digital card.
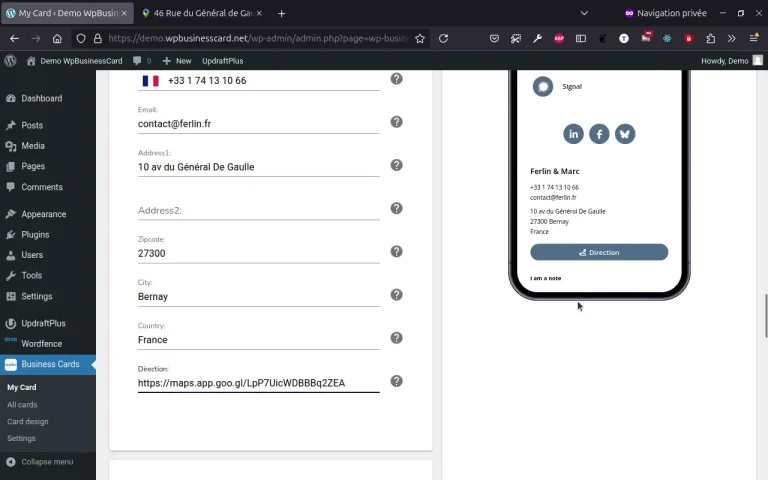
How to Add a "Get Directions" Button?
- Open Google Maps or another mapping service: Find the location you want to share.
- Copy the map link: Click on the share or link option, and copy the generated URL.
- Paste the link in the "Directions" field: In your WordPress dashboard, navigate to WpBusinessCard > My Cards, and paste the link into the "Directions" field.
- Save your changes: Click Save to add the button to your digital card.
Use and share your card
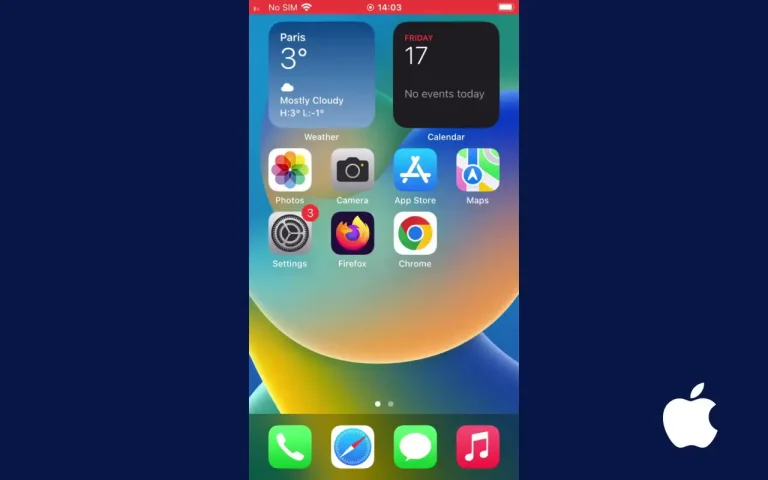
How to Add Your Card to the Home Screen on Iphone / IOS?
- Scan the QR code: Open the My Card page and use your iPhone's camera to scan the QR code. This will open your card in Safari.
- Add to Home Screen: Tap the share icon in Safari, choose "Add to Home Screen".
- Confirm the action: Follow the prompts to name the shortcut and confirm the addition.
- Access from home screen: Your card is now available directly on your home screen, functioning like an app!
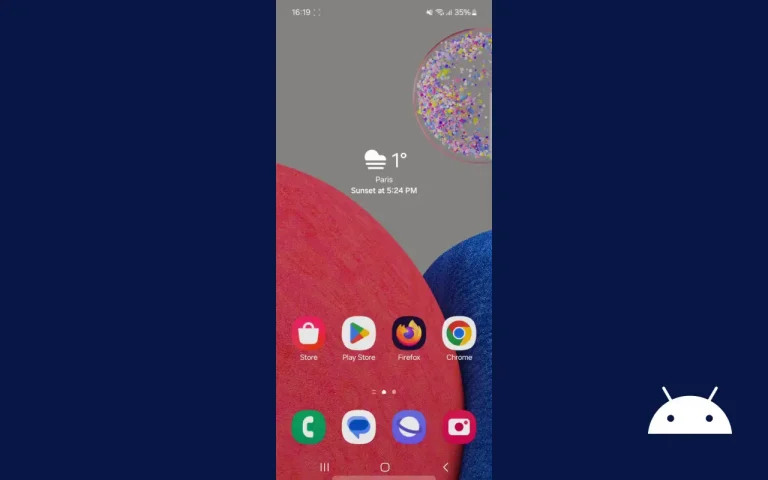
How to Add Your Card to the Home Screen on Android/Chrome?
- Open Chrome on your Android phone: Use the QR code scanner in the search bar to scan the QR code. This will open your card in Chrome.
- Access the menu: Tap the three-dot menu icon in the top-right corner of Chrome.
- Select "Add to Home Screen": Choose the option to add the card to your home screen and follow the prompts to name the shortcut and confirm the addition.
- Access from home screen: Your card is now available directly on your home screen, functioning like an app!
Need more help? Find answers in Our FAQ
Explore our comprehensive FAQ section for quick answers to common issues. Get the support you need in just a few clicks!
Explore FAQ section